Last week, a group of calendar printers got together to assemble the final product! Some photos:
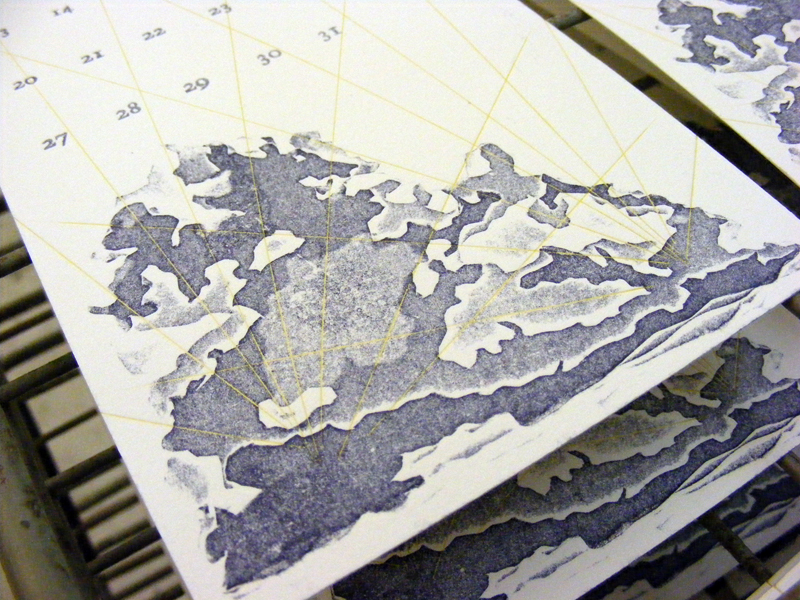
All the finished pages, lined up in order:
Three of our official hole-punchers (Erin, Leslie, Kathryn):
Our two official collate-ers (Laura and Lauren):
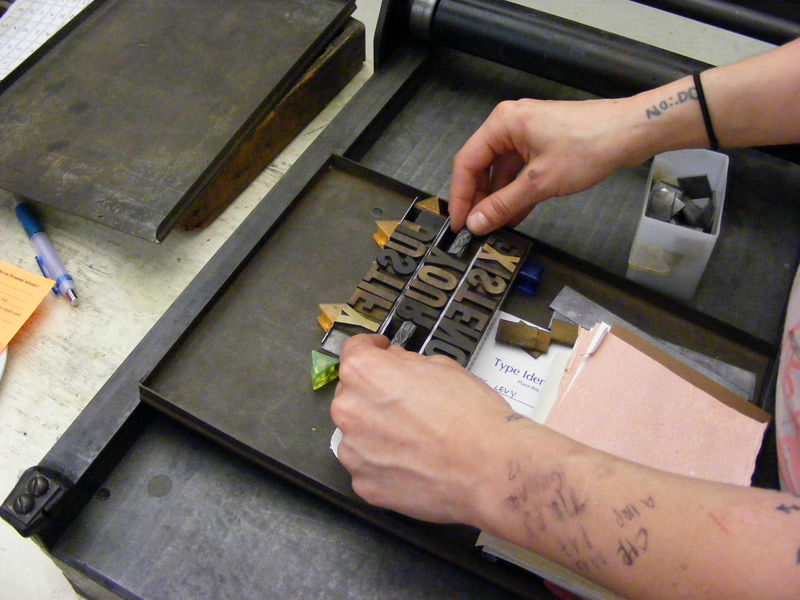
A group shot of everyone hard at work:
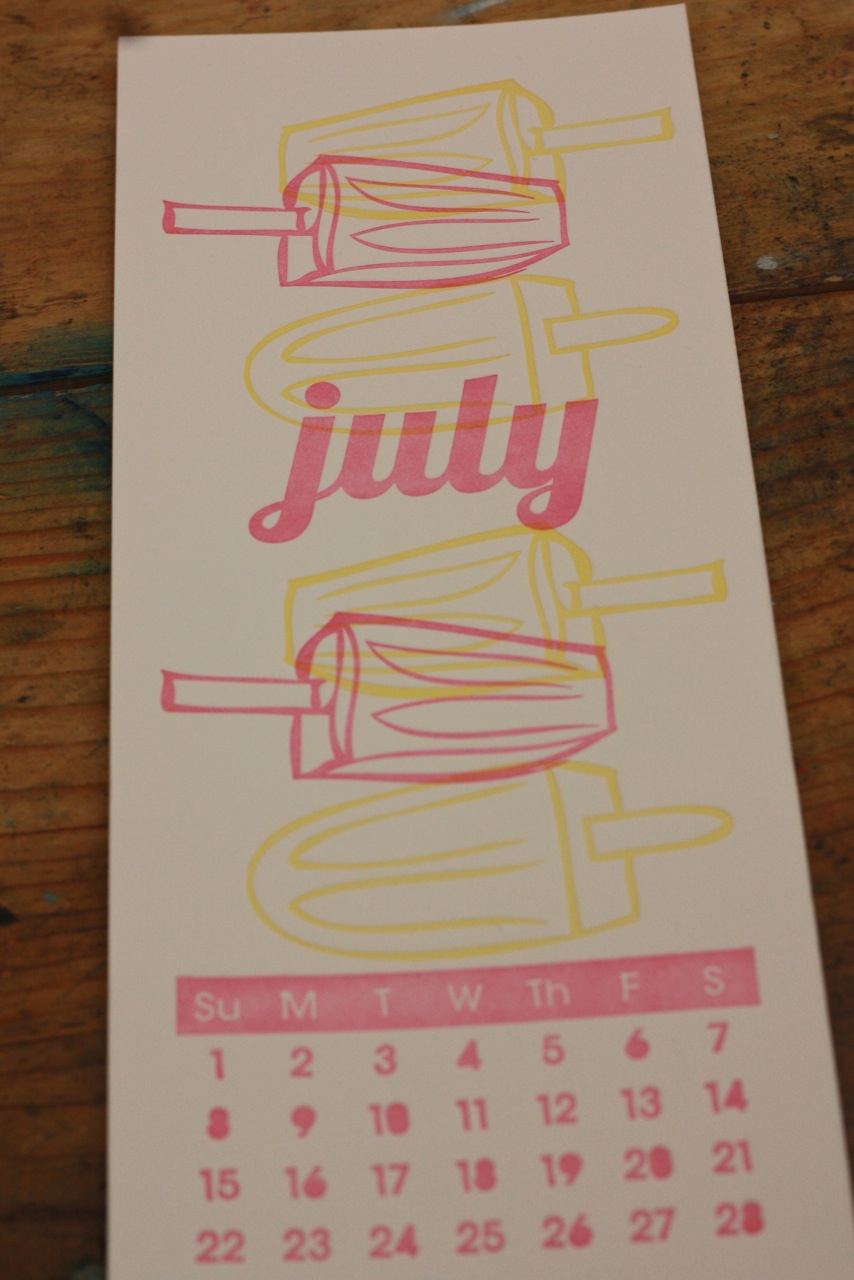
The final product, a set of 118 beautiful calendars:
We should have information on how to purchase the calendars very soon!
Showing posts with label kathryn grill hoeppel. Show all posts
Monday, October 31, 2011
Sunday, October 16, 2011
2012 Calendar Sneak Peek #3!
Got some new photos some newly finished pages of our 2012 Letterpress Calendar, courtesy of June printer, Miranda Anderson:
The theme for today's Sneak Peek is the letter J....
So exciting! We've now got 6 completed pages (not counting those that were printing over the weekend). Check out the other Sneak Peeks here.
The theme for today's Sneak Peek is the letter J....
January (by Alyson Hurt):
June (by Miranda Anderson):
July (by Alison Whitty):
And a couple shots of the completed front and back covers (Kathryn Hoeppel, Sarah Hanks):
So exciting! We've now got 6 completed pages (not counting those that were printing over the weekend). Check out the other Sneak Peeks here.
Friday, October 7, 2011
2012 Calendar Sneak Peek #2!
Another look at the 2012 calendar pages that are coming off the press! (See the first Sneak Peek here!)
Morgan wins the prize for being the first one with all her pages completed:
The clouds turned out beautifully!
Here's a shot of the front and back cover (by Kathryn Hoeppel and Sarah Hanks, respectively) after the first run.
These two smart ladies teamed up to print their pages together so they could use the same colors (and cut their clean up duties in half)!
Tuesday, September 13, 2011
In the studio...
One of our studio regulars, Kathryn Hoeppel, is an excellent watercolor artist. Since she's gotten into letterpress, she's been playing around with combining the two. She's done some beautiful business cards printed over paper that she'd painted on. Now she's done a pretty set of thank you cards as well. She was kind enough to leave one on our bulletin board:
Wednesday, August 24, 2011
Happy Hour 8.22.11
Photos from Monday night's Happy Hour!
Chase Clement, who took one of my workshops back in March, stopped by to check out the studio. He brought a copy of his book that he'd printed on an SP-20 with all handset type at Smith College back in 1972. Here are some photos. Amazing...
Alyson Hurt came to play around with some type to get ideas for the January page of the 2012 Letterpress Calendar:
Kathryn Hoeppel set some type to print onto watercolored cards:
She didn't really get to printing but I'm sure they'll look great when she's done.
Erin Brophy played around with making a pattern of ornaments. Maybe inspired by Chase's book?
Molly Moran printed the type she'd set at the last Happy Hour:
Curious to see what she ends up doing with these? Folded cards?
Lauren Emeritz also set some type for a birthday card (also serving as a prototype for her April page of the 2012 calendar):
I love how everything is all planned out on the graph paper.
Alison Whitty also came by to play around with some type for the July page of the calendar and to share some design ideas (sadly, I didn't get photos of these!)
The next Happy Hour will also be a critique of everyone's preliminary calendar page designs. Can't wait to see everyone's ideas!
Wednesday, June 15, 2011
More photos from Happy Hour
These photos have been hanging out on my computer and camera for some time, but they're really best for sharing. Now you can get a better glimpse of what's been going on in the letterpress studio these last few weeks (and months).
Here's Julia printing a funny Ohio pun greeting card that debuted at DC Craft Mafia's Spring Thing.
And Jim setting type at a recent happy hour.
Kathy working on her awesome business cards.
Julia printing in some great magenta ink on the Chandler & Price Pilot Press. Julia and I are teaching a beginner's workshop on how to use the Pilot Press on July 24th. You can find more information and sign up here.


Lauren & Aly during the pressure prints mini-workshop at last week's happy hour.


And some of the work from the pressure prints mini workshop!
Lauren & Aly during the pressure prints mini-workshop at last week's happy hour.
Wednesday, May 25, 2011
Happy Hour 4.18.11
Some photos of last week's fun happy hour!
Here's a shot of everyone plugging away at their various projects:
Steve experimented with hand inking some wood type:
And Jim re-set the Robert Graves poem he'd printed during the Intro to Tabletop class earlier this month. He printed it onto some wonderful handmade paper:
And unfortunately, I forgot to get photos of what Melanie and I were working on! Hope to see you next time!
Here's a shot of everyone plugging away at their various projects:
Steve experimented with hand inking some wood type:
Kathryn printed more of her awesome business cards:
And Jim re-set the Robert Graves poem he'd printed during the Intro to Tabletop class earlier this month. He printed it onto some wonderful handmade paper:
And unfortunately, I forgot to get photos of what Melanie and I were working on! Hope to see you next time!
Friday, April 29, 2011
In the studio...
A quick update on Kathryn Hoeppel's graduation announcement project! She printed her second color of this on Monday evening and did a great job with registration. Here's a photo (the color is way off... it's much closer in the previous post linked above):
See the real thing (along with a coordinating hand-lined envelope) on our bulletin board!
Thursday, April 21, 2011
Tip #8
A new tip (finally)!
When printing a project for which you need to mix a specific color, try hand inking to do test prints before inking up the press rollers. Brayers are on the little shelf just at the end of the Universal's bed. Try to get the ink on the brayer to be in as thin a layer as possible to get results closest to what it would look like on the press. Since the boldness of your color depends mostly on the amount of ink you're using, this method won't necessarily help with that, but it will help you avoid "Oh shoot, this green looks too yellowish.... Now I gotta clean up and start all over again!"
(Photo is of Kathryn Hoeppel hand inking for a test print of her business cards printed on watercolored paper.)
Wednesday, April 20, 2011
Happy Hour 4.20.11
Subscribe to:
Posts (Atom)